Temperature Excursion Emergency: A Cold Chain Rescue Guide
June 1, 2026
June 3, 2026
x min read
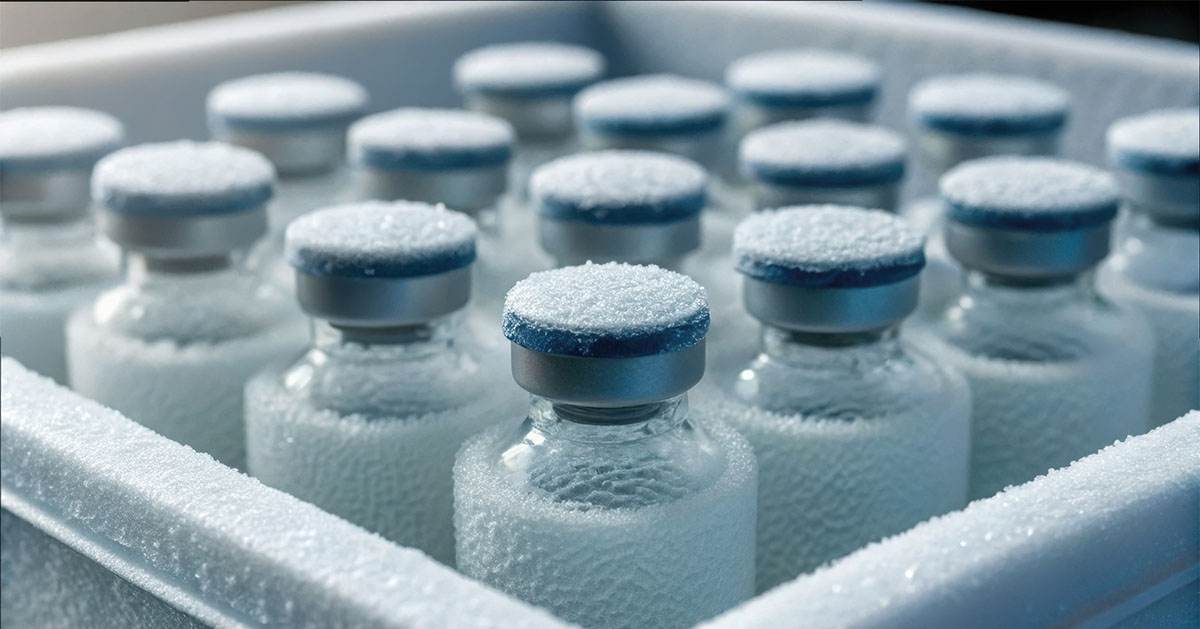
A pallet of vaccines leaves Indiana on a Tuesday with a validated pack-out and a precooled trailer, the kind of shipment that should reach Pennsylvania without incident. Somewhere in Ohio, the reefer turns off for 90 minutes before the driver catches it, gets it running again, and decides it isn't worth flagging. The load keeps rolling.
It arrives the next morning and looks exactly the way it did when it left. The receiver pulls the data logger, sees the 90-minute climb on the chart, and writes the pallet off as a six-figure loss before anyone touches it.
Most temperature excursions follow that pattern. The damage stays invisible until the chart shows up, and by then the window to save the freight has already closed. That window was back in Ohio, and the shipper never knew that window was open.
To help catch that window, we put together a brief guide below.
What the First 15 Minutes After an Excursion Alert Should Look Like
The opening 15 minutes of an excursion are when the shipment is still a live decision, and it stays that way only as long as the team treats it that way. The work done in this window comes down to three things: figure out what kind of event you have, get the product out of harm's way, and put the right people on notice before it's too late.
Minutes 0 to 5: Confirm the Alert and Read the Sensors
Your first instinct is to call the driver. Hold off. The data tells you more than he can in the opening minutes, and it tells you faster. A spike from a door opening at a cross-dock looks nothing like a reefer that has been climbing for the last hour, and your tracking dashboard tells those two events apart in seconds.
Pull the readings that indicate what type of event this is:
- Current temperature
- Minimum and maximum readings
- Duration outside threshold
- Location
- Any door, light, or shock events tied to the alert timestamp
Leave the alarm running until the cause is clear. CDC guidance warns directly against silencing it early, and a re-triggering alarm has saved more loads than it has annoyed dispatchers. The faster the team can see temperature, location, and event history in one view, the faster the diagnosis turns into a decision, which is the whole point of real-time tracking.
Minutes 5 to 10: Protect the Product and Trigger the Backup Plan
Once the cause is clear, the response moves from looking to doing. The playbook is the same regardless of product:
- Get the freight toward a qualified backup reefer or cold storage point
- Replenish dry ice or gel packs if the validated packout supports it
- Keep the trailer doors closed until the load is back inside its threshold
Where the playbook splits is in what you do with the product itself, since pharma and perishables sit under different rules during an excursion:
- Pharma loads: Quarantine the shipment so it cannot be released or distributed until your QA team reviews the excursion data and signs off. FDA stability guidance allows a brief excursion to be justified with supporting data and a documented risk assessment, but nothing moves until QA makes that call.
- Perishables: Stop moving until safety is confirmed. The FDA Sanitary Transportation Rule does not allow the same wiggle room as it does for pharma shipments.
Minutes 10 to 15: Escalate, Communicate, and Open the Record
Once the product is stable, these last five minutes belong to the people who need to know. Work the escalation chain in the order the freight will hit it:
- Internal logistics lead
- Carrier or driver
- QA or compliance
- Receiver, if delivery is close enough to warrant a heads up
Then, open the excursion record alongside those calls. Log the alert timestamp, every action taken, and who made each call. Open it now rather than at the end of the day, because memory fades fast under pressure.
What to Do Once You're Past the First 15 Minutes
The work after the response window feels calmer from the outside, but this is where disposition gets decided. Everything captured during the first 15 minutes now becomes the input for what happens next, and the calls, the documentation, and the final decision on the product all have to run in parallel.
Get the Right People on the Phone in the Right Order
Bad communication is what turns a recoverable excursion into a rejected shipment, and the order of the calls matters as much as the content. Get the operational picture locked before bringing anyone else in, build a disposition off a known starting position, then loop in outside parties only when there is something real to tell them.
Every call should carry the same packet of facts so the story stays consistent:
- Shipment ID
- Product and lot
- Required temperature band
- Current reading with minimum and maximum
- Duration out of range
- Location and suspected cause
- Corrective action taken so far
- ETA to safe storage
Build the Documentation That Makes the Disposition Defensible
Those calls only go as far as the record behind them, since QA does not release freight on the strength of phone calls. The file built during and after the event is what determines whether the product moves or sits, and the contents look pretty similar across regulated industries:
- Date and time of the alert
- Equipment or trailer ID
- Temperature readings and duration outside the threshold
- Affected product list
- Photos of the load and equipment
- Seal and door status
- Corrective actions taken
- Names of decision makers
- Recommended disposition
Tie Disposition Back to Stability Data & Receiver Standards
A solid record becomes the input for the final call, which sits at the meeting point of the product's true tolerance and the receiver's appetite for ambiguity. Pharma teams can sometimes justify a brief excursion with stability data and QA review, while perishable regulators draw the harder line that distribution stops until safety has been confirmed.
Whichever framework applies, the factor that tips the decision is the receiver's confidence in your data. A platform with continuous condition history and lane-level, real-time shipment visibility shortens that conversation, since the chart, the photos, and the SOP are already organized in one place by the time QA asks for them.
How to Build a Response Plan Before the Next Alarm Goes Off
Finally, the best cold chain teams almost never improvise on the day an event happens. The calm response in the opening 15 minutes is the result of work done months earlier, when somebody sat down and figured out who picks up the phone, where the freight goes next, and what the team carries forward from every incident.
- Product-specific alert thresholds: Tie every threshold to the product's validated tolerance rather than a single generic rule, since biologics and ultra-low-temp loads need tighter bands and faster escalation than ambient pharma or produce.
- Named on-call owners and escalation tree: Every shift and lane needs a named human ready to answer the alert with a documented backup behind them. Generic titles like "ops manager on duty" tend to evaporate at the worst time.
- Approved backup reefer and re-icing vendors: Pre-vet cold storage and re-icing partners along every major lane so the middle-of-the-night call goes to a dispatcher who already knows your account, your product profile, and how fast they need to move.
- Excursion history and lane-level pattern review: Use past incidents to surface recurring weak points such as dwell windows, specific handoff facilities, or chronically late carriers, since pattern review also surfaces route deviations correlated with cargo theft.
- Drill cadence and postmortem discipline: Run tabletop exercises against the SOP at a regular cadence and treat every real excursion as a postmortem candidate, with corrective actions and an owner assigned within 48 hours so the plan keeps getting sharper.
Why Tive Sits at the Center of This Workflow
Every minute above runs on one thing: live data in the right hands at the right time. That is what we built Tive around.
Our trackers do the heavy lifting, each in its own way:
- Solo 5G: Multi-sensor workhorse for the general cold chain
- Solo Pro: Fully-validated and GxP-compliant for pharma and biologics; runs all the way down to cryogenic -200°C.
- Solo Lite: Cost-effective, real-time option for perishables and high-volume lanes that need location, temperature, and light without the full sensor stack
Every reading is ground truth data captured straight off your freight, which is what the disposition chart should be built from.
But having said that, ground truth data still needs somebody acting on it. Our 24/7 Monitoring team watches the dashboard around the clock, and works with the carrier the moment an alert fires. That single intervention has saved customers six and seven-figure loads more times than we can count, and the people running this aspect of Tive are what make everything go.
The chart at the dock tells one story. We help you write a better one. Get started with Tive today.
